Applications#
Your application is how the school can keep track of all of your details while the application process is ongoing. It forms the basis for all contact between you and the school.
Tip
Should you have any questions for the school about your application or the application process please use the Talk To Us mechanism.
Editing an Application#
You can edit information on your application by navigating to the My Application section. (You will be taken here automatically when logging in)
The application screen is split up into logical sections allowing you to find what you’re looking for easily.
Caution
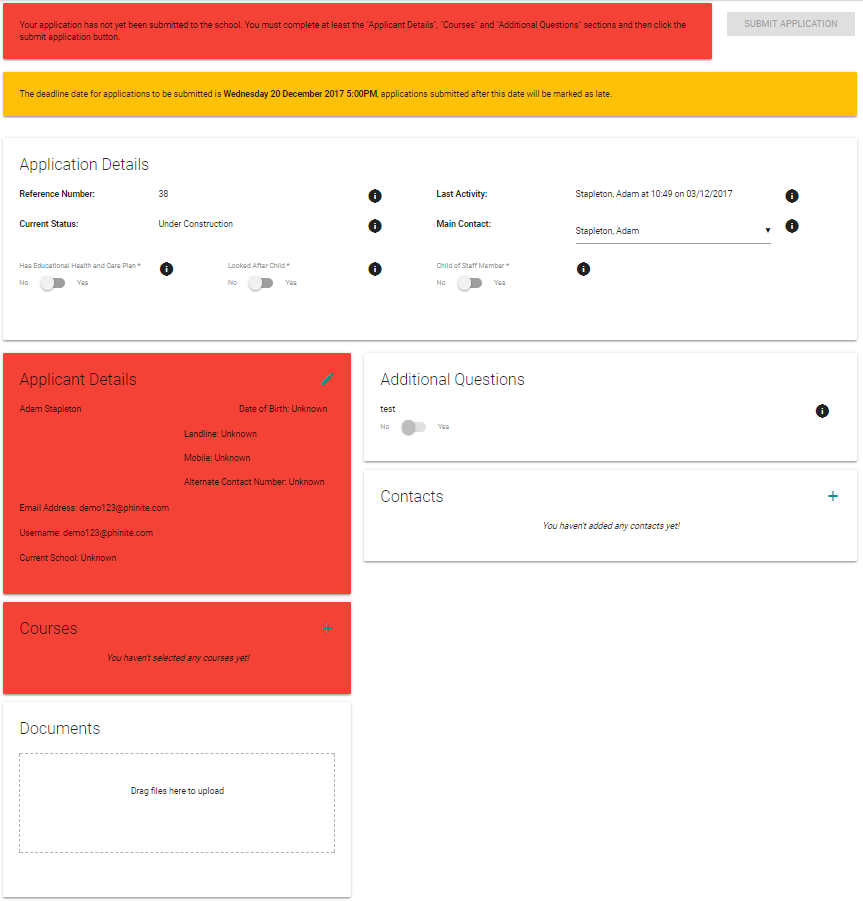
If you see a red bar at the top of your application then you haven’t submitted it to the school yet! Complete the required sections (also highlighted in red) and then the submit button will become active. Once active click the submit button to submit the application to the school for review.
Tip
If you haven’t submitted the application yet there will be a yellow warning bar shown telling you the deadline by which applications must be submitted.
Once all of the required sections are complete you’ll see a green bar at the top of the screen letting you know that you can now submit your application.

Tip
If at any stage you wish to withdraw your application, please send a Talk To Us message to the school so that they can update the status for you.
Application Details#
This section contains general information about your application.
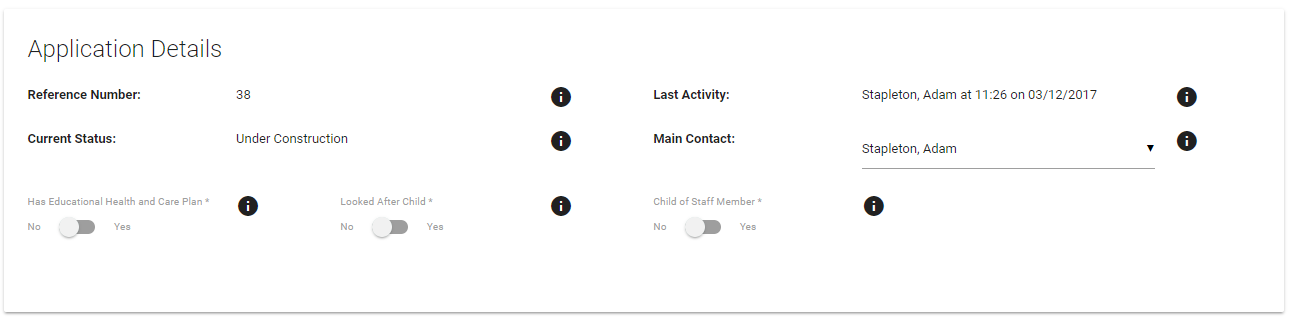
The following fields are contained within this section:
Reference Number - The applications unique reference number (Quote this to the school if calling regarding an application and they will be able to easily find the correct one).
Current Status - The applications current status.
Last Activity - The last activity of either an applicant or contact linked to this application.
Main Contact - The main person that should be contacted regarding this application. This person will be the recipient of any written letter communications the school determine are necessary.
Tip
The school may choose to prevent you from updating the main contact yourselves. In this situation you should contact to school via the Talk To Us mechanism to discuss a change to the main contact.
These fields are available for external applications only:
Has Education Heal and Care Plan - This flags if you have an Education Health and Care Plan (EHCP).
Looked After Child - This flags you as being a Looked After Child (LAC).
Child of Staff Member - This flags you as being the child of a member of staff at the school.
Staff Member Name - This is only shown if “Yes” is selected in the Child of Staff Member option. It should contain the name of the staff member you’re related to.
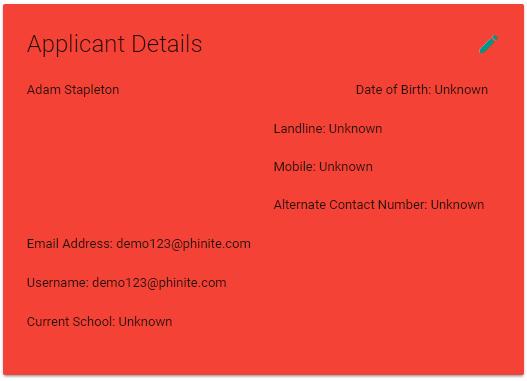
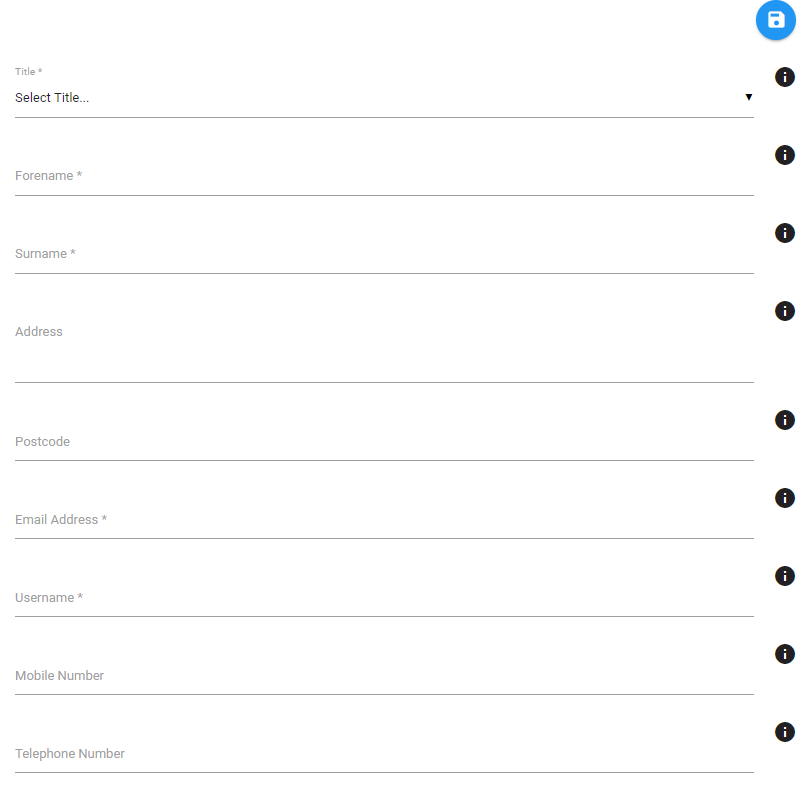
Applicant Details#
This section contains your personal data, to edit the information click the edit icon in the top right hand corner.
Tip
You can only edit these details while the application is at certain statuses. This is because the school need to closely control the information once it’s past a certain stage in the process. If you can’t see the edit button but need to update the information please send a new message via the Talk To Us mechanism requesting the information update.
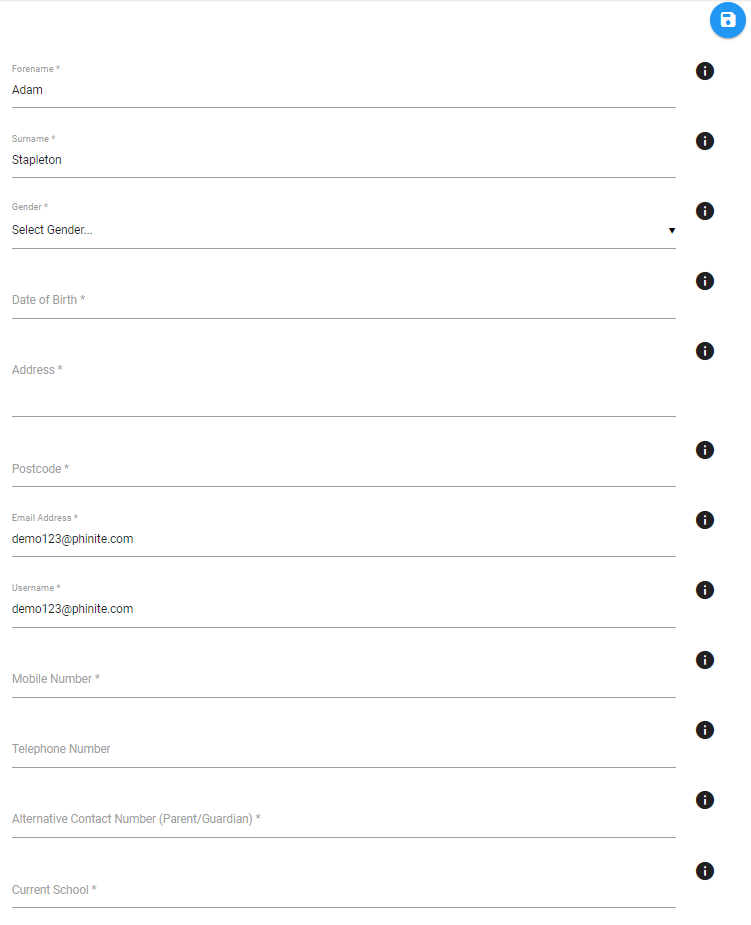
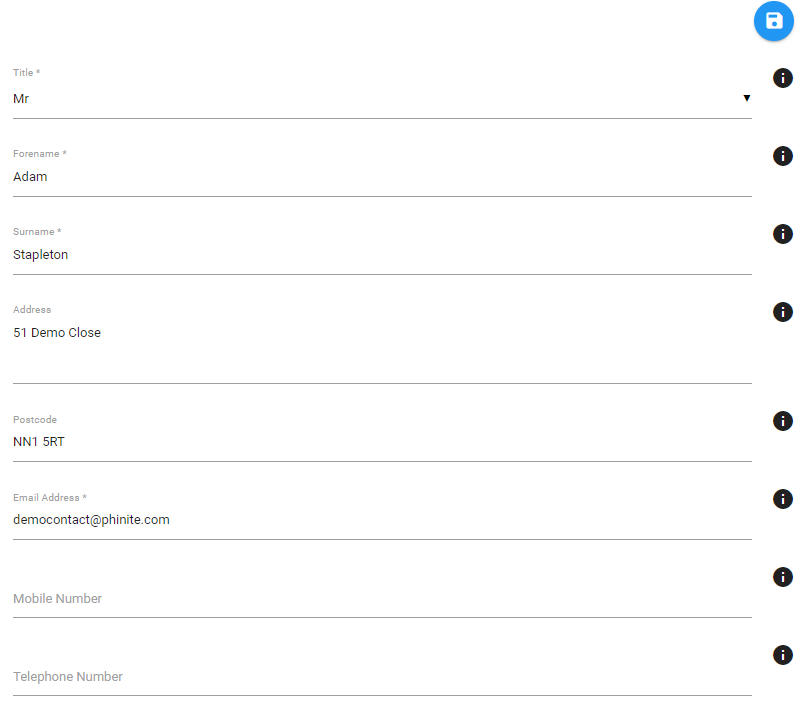
Once in edit mode you will be able to update or add the required fields, marked with an asterisk ( * ).
Tip
Your mobile number is required in case the school need to contact you. We also require an alternate contact number in the event the you don’t answer your phone. (We recommend that this is a parent or guardians mobile number, please obtain permission to provide this to the school before doing so)
Once you have updated the required data click the save button at the top of the screen to save the updated information. This will take you back to the edit view of the application.
Tip
Internal applicants will not need to provide their current school.
Additional Questions#
This section shows any additional questions that the school have decided to ask you. Some of these questions can only be updated by school staff (These will be disabled but still visible to you).
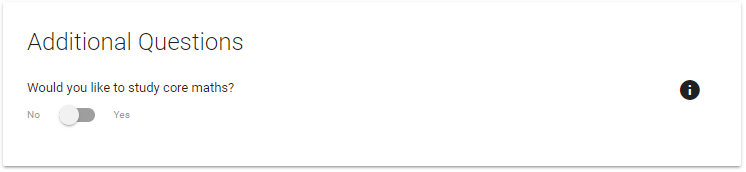
If you are able to update the answer, simply click the toggle switch to signify the correct answer, a popup message will confirm the information was saved.
Contacts#
The contacts section shows any contacts that have been associated with the application. These people will be given an account so that they can log into and edit the application as required.
Caution
Additional contacts are not a required part of the application process, therefore the school will determine if you can add additional contacts to your application. If the school have chosen to enable this functionality you’ll be able to complete actions related to adding/editing/deleting contacts as per the details in this section.
Caution
Do not add anyone as a contact that shouldn’t be able to edit the application. It’s intended use is so that the applicants parents can also view and edit the application should it be necessary for them to do so. The people added as contacts will be able to see your personal information.
Caution
When adding a contact to your application you are consenting to that person being able to see all aspects of the application including your provided personal information. If that’s ok with you then add the contact if not, there’s no particular reason to add any contacts to your application.
Add a new Contact#
If you have not added any contacts yet you will see the following screen.

To add a new contact, click the add contact button in the top right hand corner of the contacts section. This will open the add contact screen.
Once the contacts information has been entered, click the save button at the top of the screen to save the contact.
Each contact must have a unique email address as this is used as their username. You will be shown a message if the desired username is already in use.

Caution
If your contact already has an account with the school you can link them to your application by clicking the displayed link and getting them to enter their username and password.
Once added, the contact will be sent an account setup email in order for them to complete their security information and gain access to your application. Just follow the steps laid out in the email and accompanying pages to complete this process.
Attention
This email becomes invalid after a period of time. If you try to use an invalid link please contact the school to have a new link sent out.
Editing an Existing Contact#
To edit an existing contact select edit from the top right hand corner of the desired contact.

This will open the edit view for the contact.
Once the required information has been updated click the save button to update the information.
Deleting a Contact#
To remove a contact from your application simply select the delete button from the top right hand corner of the desired contact.
You will be asked to confirm the action with a popup window.

Caution
You will be unable to delete the contact if they are currently selected as the main contact for the application.
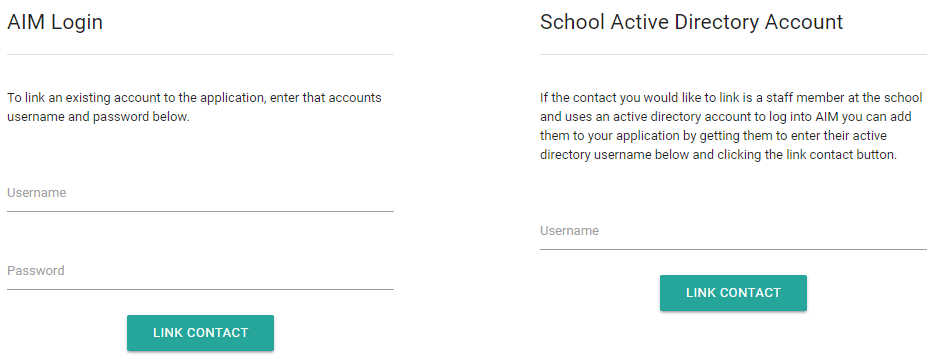
Linking an Existing Contact#
The way you link an existing user depends on how they log in. A user that logs in using a username and password they can simply enter their credentials on the form on the left of the screen and their account will be linked immediately. If they log in using their school account (For example Active Directory) then you should follow the process on the right hand side of the screen.
The user will then receive an email with a link in it that they must use to complete the process. Once that link is clicked, the users account will be linked to your application as a contact.
Courses#
The courses section shows the courses that you would like to apply for.
Adding Courses#
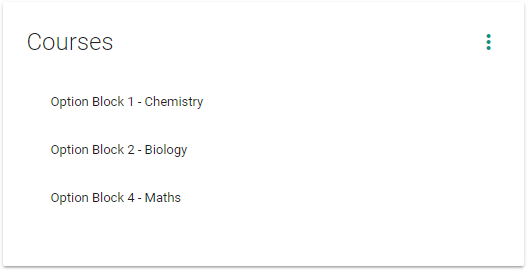
If no courses have been selected yet you’ll see the below.

To select your courses click the add button in top right hand corner of the section. This will take you to the course selection screen.
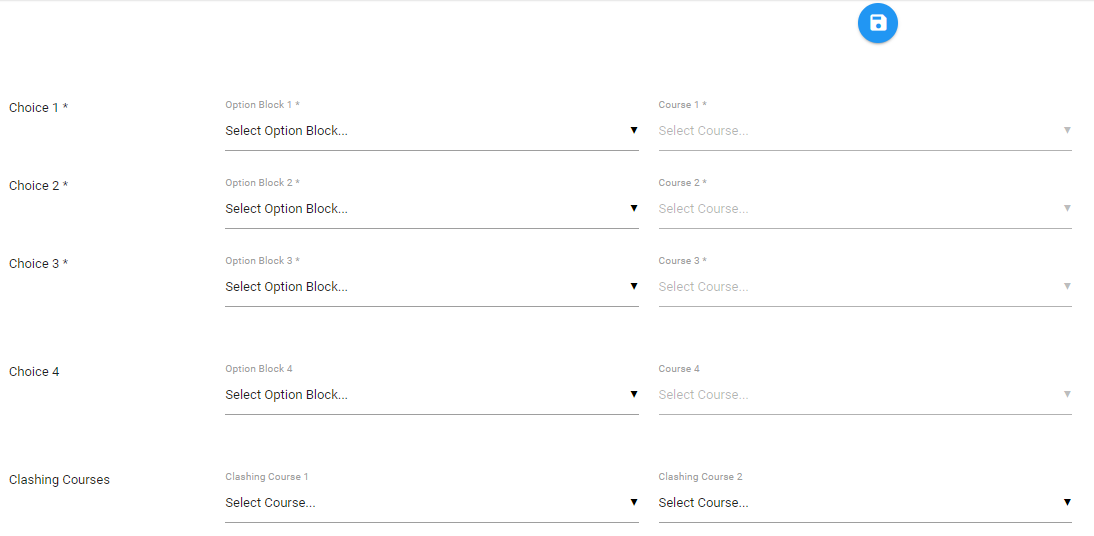
Select the courses you would like to apply for and optionally select a fourth course choice (if applicable).
Tip
The school can choose whether to allow you to update the fourth course choice yourself or not. If the school have disabled it, you will be shown any selected value but will not be able to update it. If you really want to do a fourth course you should first discuss it with the school and they can advise you further (Some schools choose to do this during a face to face course guidance meeting with a member of the sixth form team).
If your school have enabled it, you can optionally specify a course that you would like to study but can’t due to it clashing within option blocks with another one of your courses. When selecting this option you should select the 2 courses that clash.
Important
This doesn’t in any way equate to applying for the course that clashes it just provides the school with a way to see your expressed interest in that subject. The school may discuss this with you at a course guidance meeting should your application be successful.
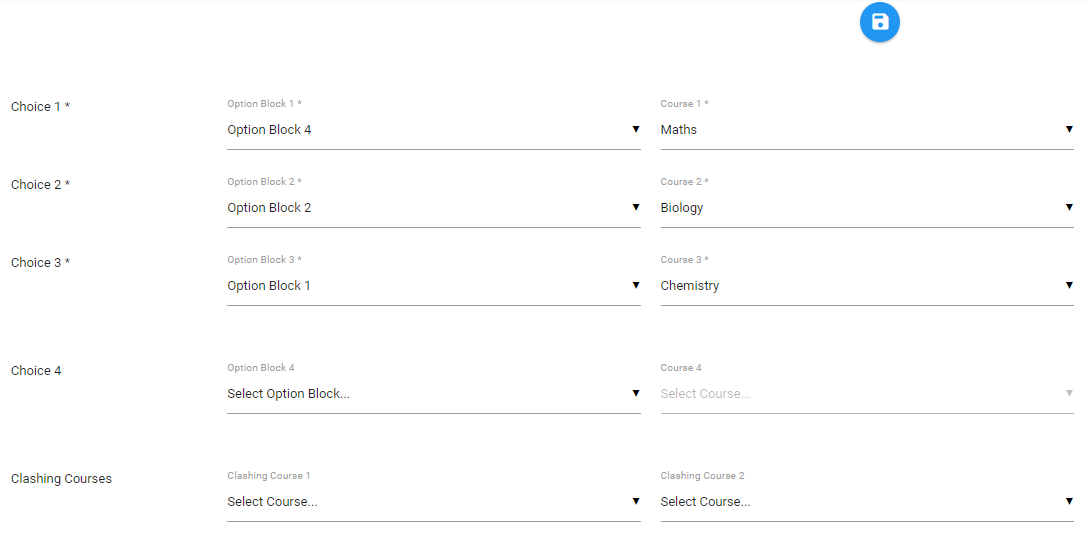
Once you have selected the desired courses click the save button to save the changes. You’ll be taken back to the edit view for the application.
Editing Courses#
To edit the current course selection click the edit button in top right hand corner of the section.
This will open your current choices in the course selection screen.
Update the desired courses and click the save button when complete. You will then be taken back to the edit view of the application.
Tip
You can only edit these details while the application is at certain statuses. This is because the school need to closely control the information once it’s past a certain stage in the process. If you can’t see the edit button but need to update the information please send a new message via the Talk To Us mechanism requesting the information update.
Course Choice History#
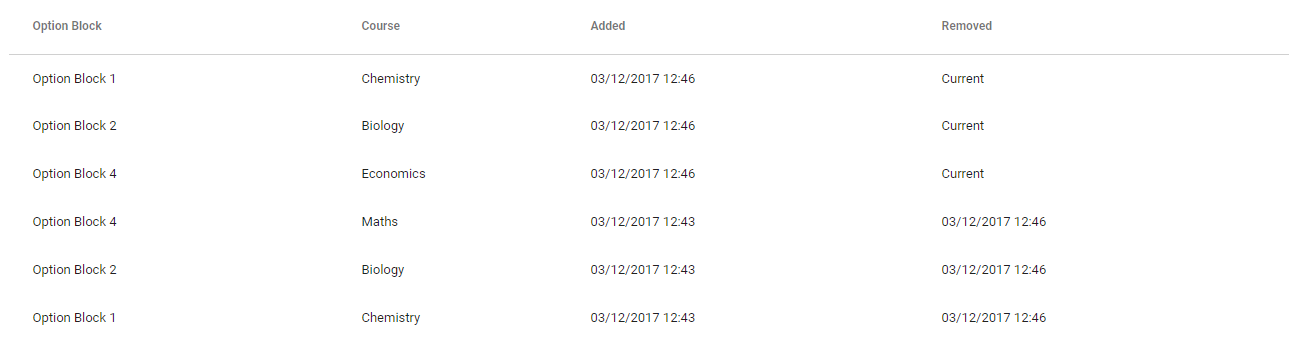
You can view a history of any updates that were made to your applications course choices by selecting the history button from the top right hand corner of the section.
This will show a complete history of any changes made to the course choices for the application.
Documents#
This section allows you to attach documents to your application. It should primarily be used for uploading results after you have received them.
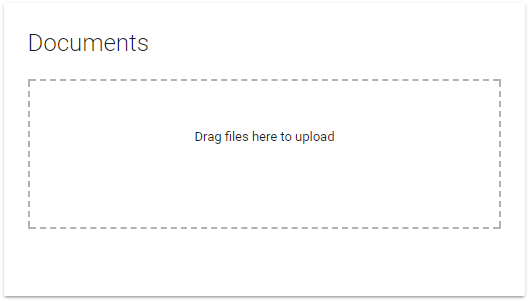
To add a new document drag and drop it onto the upload area. You can also click the upload area to select a document to upload.
Once uploaded you will see the document listed under the upload area.
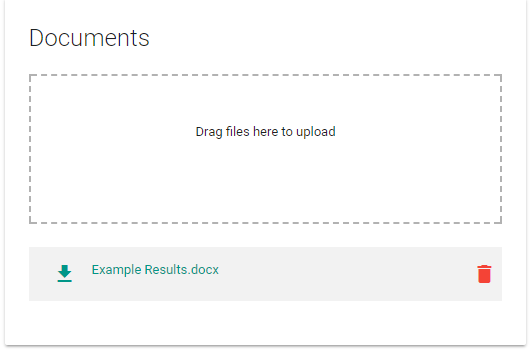
You can remove an uploaded document from your application by clicking the delete button next to the corresponding document. You’ll be asked to confirm the deletion.

Caution
If the application is at a status that prevents you editing it, the delete function will be disabled. You can still request that a document is deleted via the Talk To Us mechanism and you can still add additional documents.
Tip
There is a limit to the number of documents that can be attached to a single application, this limit is currently 6 documents.
Caution
When uploading documents to your application they must be below the maximum file size of 10MB. This restriction is in place to ensure the service isn’t abused by users with bad intentions.
Tip
If the document you’re trying to upload is to large, try saving it as a PDF before attaching it to your application.
Tip
When uploading an image that’s too large, try saving the file in a lower quality before uploading. (Most modern phones take pictures in very high quality which is unnecessary for this purpose).
Talk To Us#
The Talk To Us mechanism provides a way for the school, applicants and contacts to communicate with each other in an efficient and controlled way.
Caution
All communication between the applicant, contacts and the school should be carried out through this mechanism. It provides proof of conversations between all parties should an appeal be made at a later stage.
To access the talk to us window, click the floating action button at the bottom right of the edit view for the application.
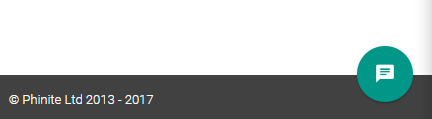
This will open a messenger on the right hand side of the screen.
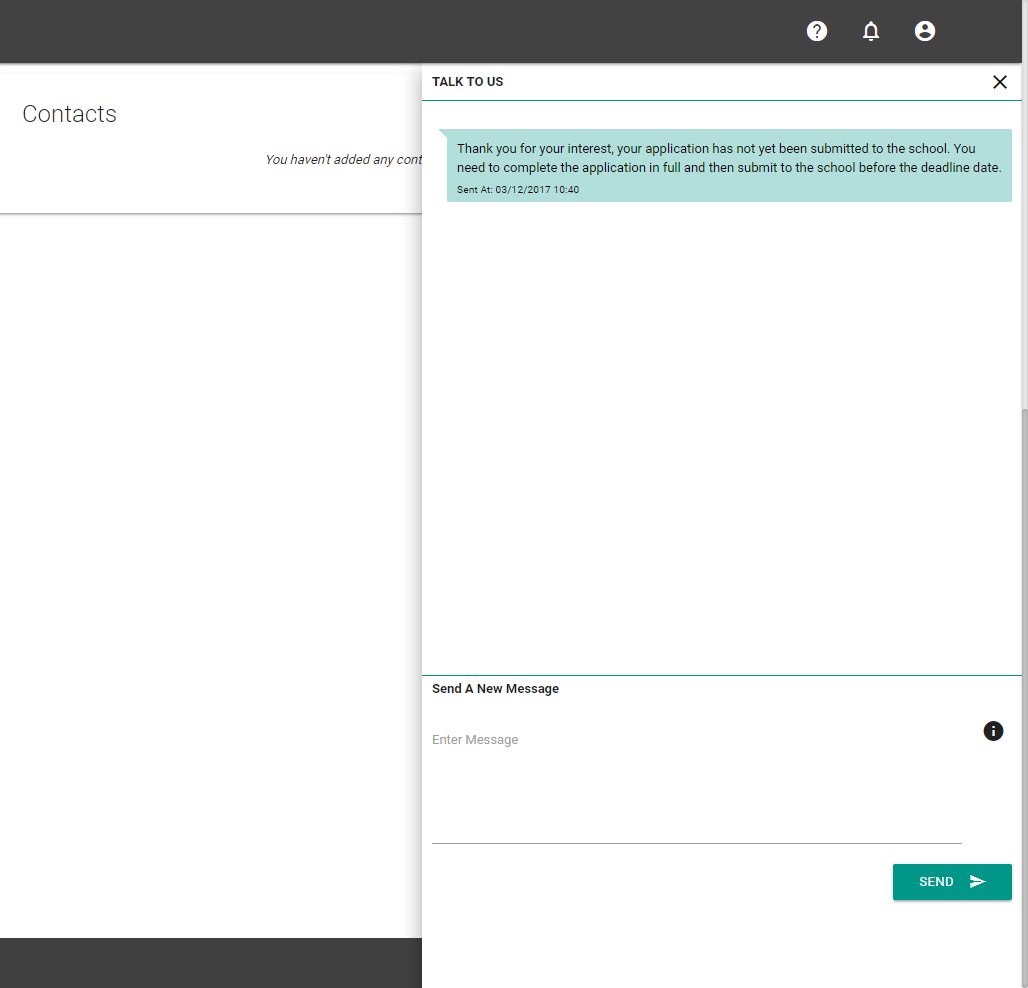
To send a new message enter the text and click the send button.
Once the message is added you can close the talk to us window by clicking in the main window (off of the talk to us window).
The school will then review and respond to the message as soon as possible. When a staff member adds a new message to the application you’ll be sent a notification informing you of the new message.
Tip
Depending on your notification settings you may or may not be sent an reminder email for the new notification.
Tip
Only the main contact of an application will receive notification reminder emails for notifications related to your application. However all applicants and contacts will be able to see the notifications when they access the portal.